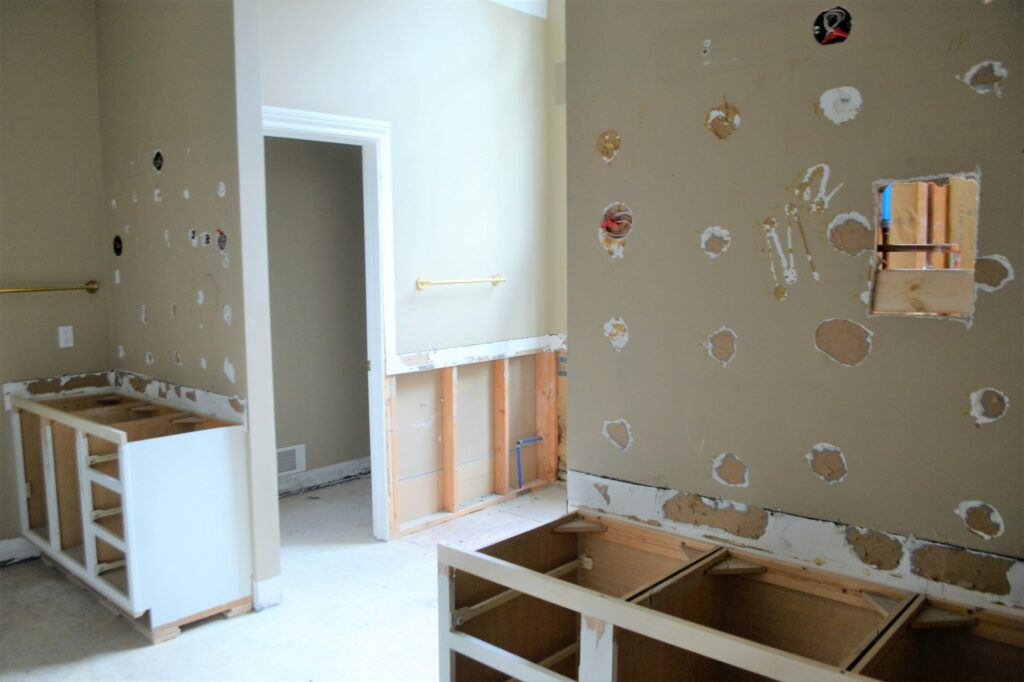
Renovating your kitchen, bathroom, or other spaces can breathe new life into your home, but it’s crucial not to overlook the plumbing. Proper planning and attention to plumbing needs during renovations can prevent costly issues and keep your new space functional for years to come. Here’s a comprehensive plumbing checklist to guide you through your renovation project smoothly.
1. Assess Your Current Plumbing System
- Inspect Pipes and Fixtures: Begin by evaluating the condition of your existing pipes, fixtures, and plumbing connections. Older pipes (like galvanized steel) may be corroded or at risk of leaks, while fixtures may have wear and tear that could hinder your new design.
- Check for Leaks or Corrosion: Look for signs of leaks, corrosion, or water stains in existing plumbing areas. Identifying these issues early can help prevent unexpected delays and costs.
2. Plan for Pipe Upgrades, If Needed
- Replace Aging Pipes: If you have older pipes (e.g., galvanized steel or polybutylene), it’s wise to upgrade to more durable materials like PEX or copper. This is especially important if you’re renovating an older home, as outdated pipes are prone to leaks and corrosion.
- Upgrade to Larger Pipes for Better Water Flow: When adding new fixtures or increasing demand, consider upgrading to larger pipes, which can improve water flow and pressure. For example, moving from 1/2-inch to 3/4-inch pipes can support multiple fixtures better.
3. Evaluate Water Pressure Needs
- Check Water Pressure: Before installing new fixtures, measure the current water pressure in your home. Low water pressure can be improved by upgrading pipes or adjusting pressure regulators, ensuring your new fixtures operate optimally.
- Install Pressure-Balancing Valves: For renovations involving showers and sinks, pressure-balancing valves help maintain consistent water temperature even when other fixtures are in use, reducing sudden temperature fluctuations.
4. Map Out Drainage Requirements
- Ensure Proper Drainage Slope: Drainage pipes need a consistent slope to allow water to flow out effectively. Work with your plumber to ensure pipes are installed with the correct gradient, especially for kitchen sinks and bathroom drains.
- Consider Venting Needs: Proper venting prevents sewer gases from entering your home and keeps your drains functioning well. Ensure that new sinks, toilets, and showers are correctly vented to avoid unpleasant odors or slow drainage.
5. Choose Water-Efficient Fixtures
- Opt for Low-Flow Toilets and Faucets: Low-flow fixtures can reduce water usage without sacrificing performance. Look for EPA WaterSense-certified options, which save water and can lower your utility bills.
- Install Aerated Faucets: Aerators mix air with water, creating a steady flow with less water. They’re inexpensive to install and are available for both kitchen and bathroom faucets.
6. Position Fixtures Carefully
- Ensure Accessibility: Position new fixtures where they are easily accessible for future maintenance. Consider future repairs when placing sinks, faucets, and shut-off valves.
- Align with Existing Plumbing (If Possible): Placing fixtures close to existing plumbing lines can save time and money on re-routing pipes. If layout changes are essential, consult with your plumber to determine the best way to run new pipes.
7. Plan for Sufficient Hot Water Supply
- Assess Hot Water Demand: If your renovation includes adding multiple bathrooms or water-intensive appliances, your current water heater may need an upgrade. Consider installing a larger or tankless water heater to meet increased demand.
- Consider Recirculation Pumps for Hot Water: To reduce the wait time for hot water, especially in large homes, recirculation pumps can keep hot water flowing to distant fixtures, saving water and improving comfort.
8. Include Shut-Off Valves for New Fixtures
- Install Accessible Shut-Off Valves: Add individual shut-off valves for each new fixture, allowing you to isolate specific areas during repairs without shutting off water to the entire house.
- Main Water Shut-Off Location: Know where your main shut-off valve is located and ensure it’s accessible. You might also consider adding an additional shut-off point closer to the renovation area for added convenience.
9. Consider Future-Proofing with Smart Plumbing Tech
- Install Leak Detectors: Smart leak detectors near sinks, toilets, and appliances alert you to potential leaks, helping prevent water damage and save on repairs.
- Smart Valves and Flow Monitors: These devices can detect irregular water usage and automatically shut off the water supply during emergencies, giving you peace of mind.
10. Add Additional Drain Cleanouts
- Easy Access for Maintenance: Cleanouts provide access points for removing clogs and performing maintenance. Adding cleanouts during renovations makes it easier to address future issues and keeps drains clear.
- Position for Accessibility: Place cleanouts in accessible locations to ensure they are easy to reach if you ever need to clear a blockage.
11. Check Building Codes and Permits
- Understand Local Plumbing Codes: Plumbing codes vary by location, so familiarize yourself with local requirements or consult a licensed plumber who knows the area’s regulations.
- Secure Necessary Permits: Permits are often required for plumbing changes. Obtaining permits ensures your renovation is up to code, preventing issues when selling the home or insuring the property.
12. Test the System After Installation
- Inspect for Leaks and Pressure: Once your plumbing is installed, run each fixture to check for leaks, measure water pressure, and ensure proper drainage. This step allows for corrections before walls are closed and surfaces are finished.
- Flush the System: Run water through new pipes to flush out any debris that may have entered during installation, ensuring a clean, smooth start.
Final Thoughts
A well-planned plumbing system is the backbone of a successful home renovation. By following this checklist, you can ensure that your new kitchen, bathroom, or renovated space is functional, efficient, and prepared for the future. Working with a licensed plumber for proper planning and installation will give you peace of mind and help avoid costly repairs down the line.
Remember, taking the time to address plumbing needs during renovations will pay off, leaving you with a beautiful space and reliable plumbing that you can enjoy for years to come!

